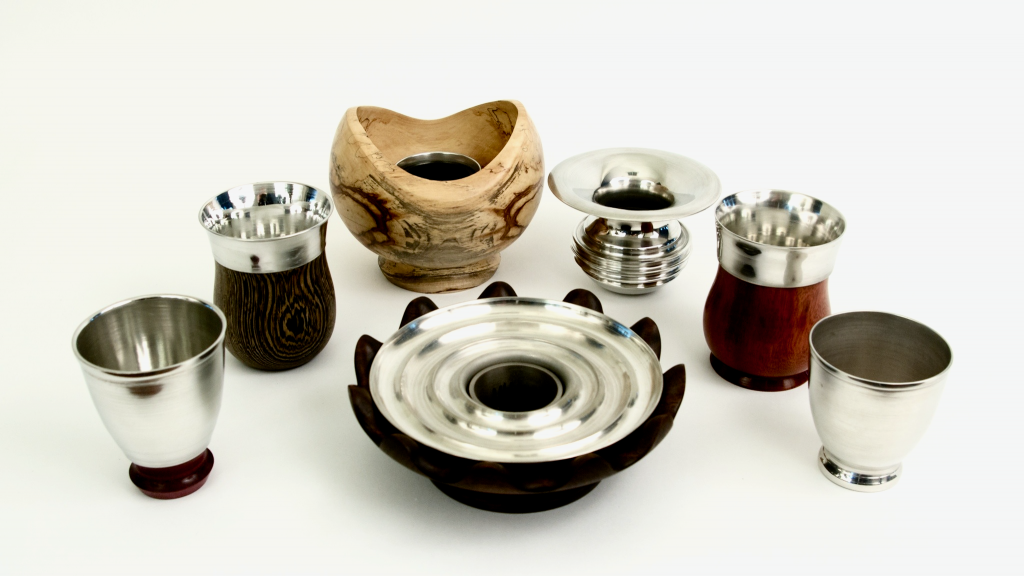
Metal spinning is a little-known but widely used manufacturing process that allows you to manipulate metal almost as if it were clay, Making tapered and shaped ferrules from tubing for hair sticks led me to think I might be able to use this technique to create sculptural forms by shaping spinning metal disks.
Although I had heard of metal spinning, I had no idea how to do it so I bought Terry Tynan’s Metal Spinning Workshop DVDs. I set up my wood lathe to function as a metal spinning lathe and tried out a number of ideas. The photos below show some of the things I figured out. The process overviews are quite brief so please let me know if you have any questions or comments.

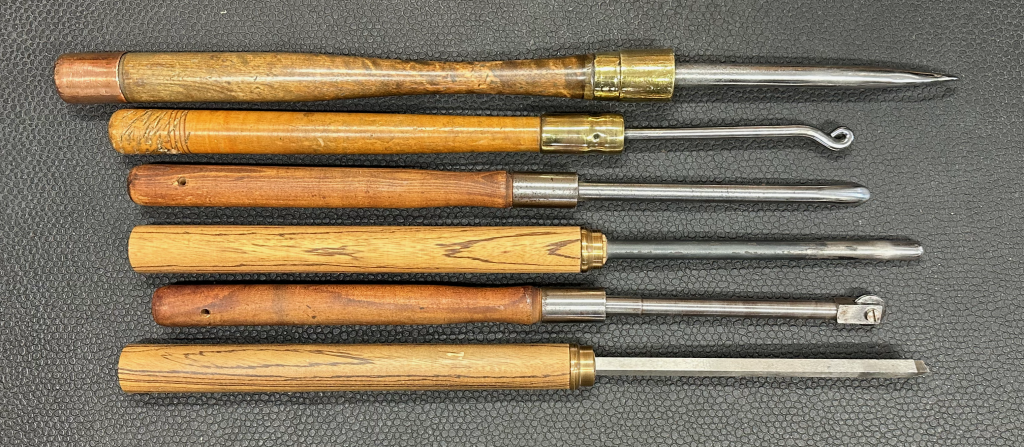
These are some of my spinning tools. Sections below show a few ways of using them.
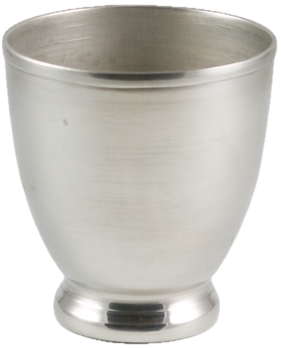
Ordinary Spinning
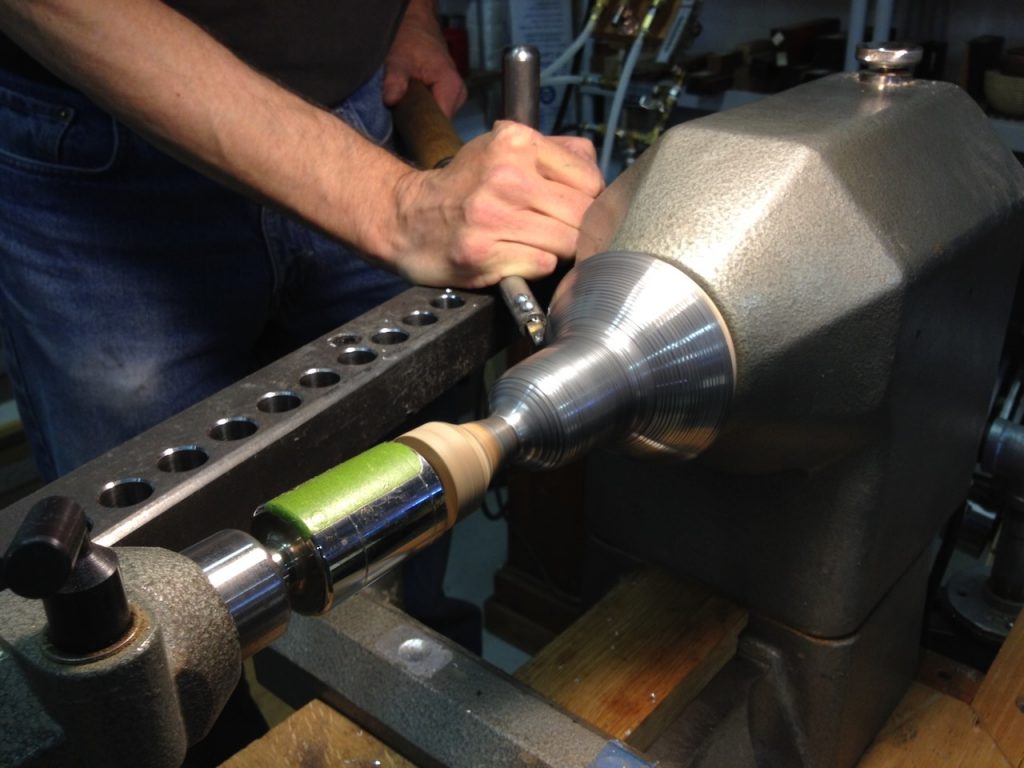
The most common spinning technique starts with making a mandrel to push the metal against.
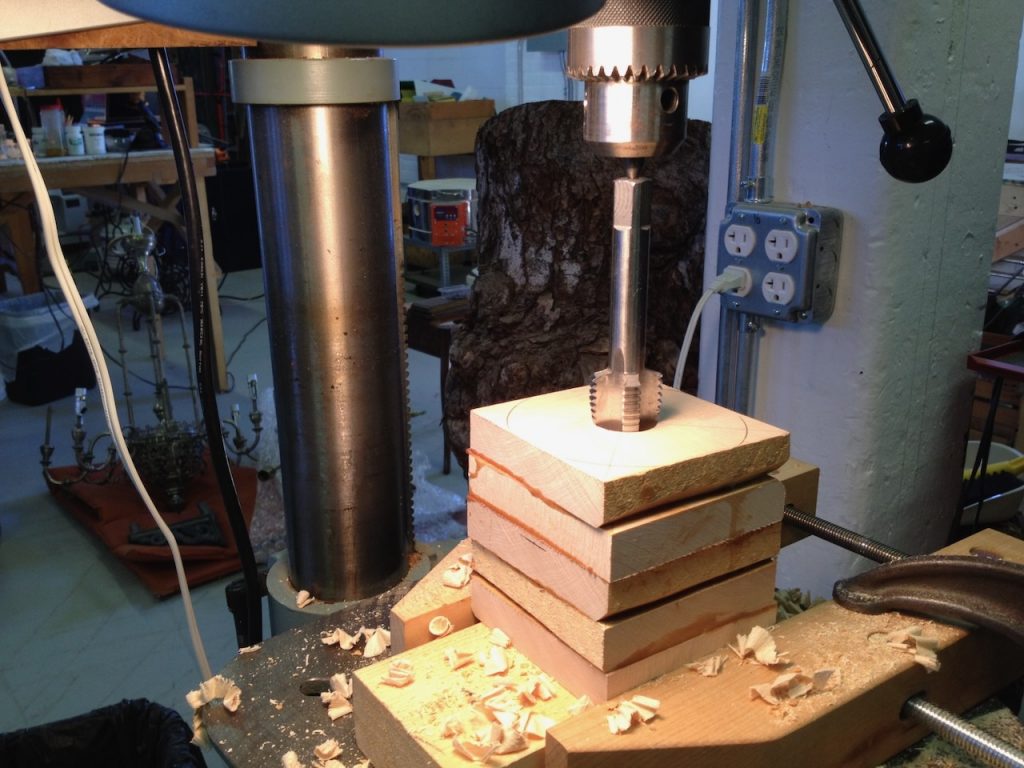
I use glued up hard maple and thread the block to screw it onto my lathe’s spindle.
I then cut it to the shape I want the metal to assume.
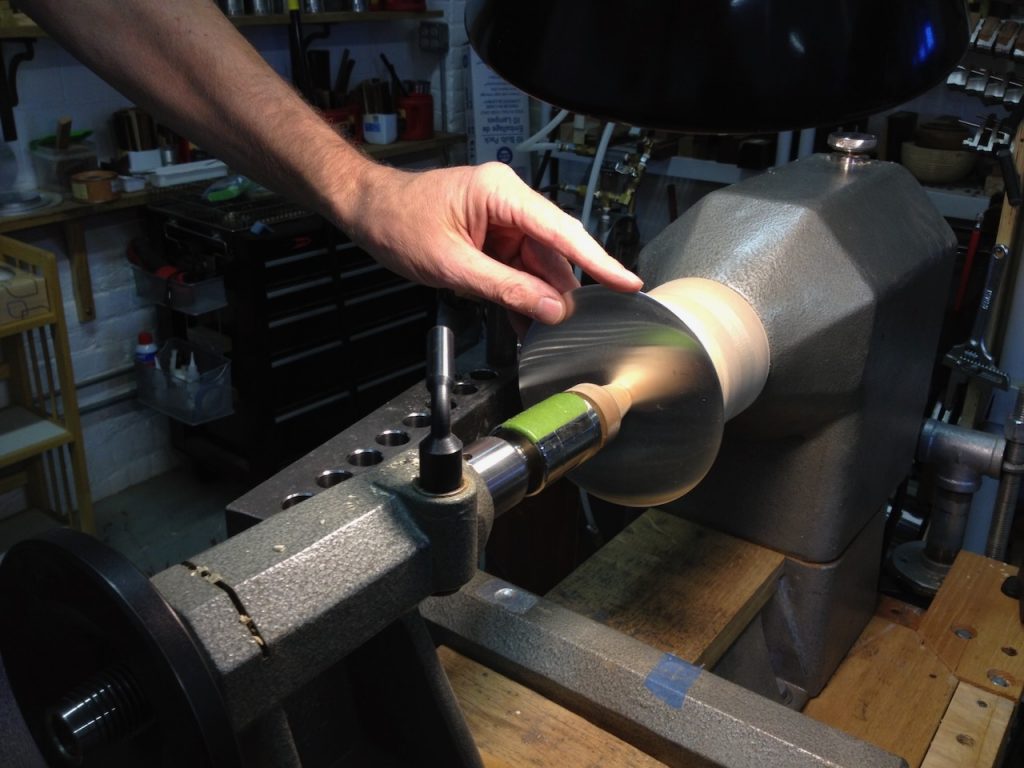
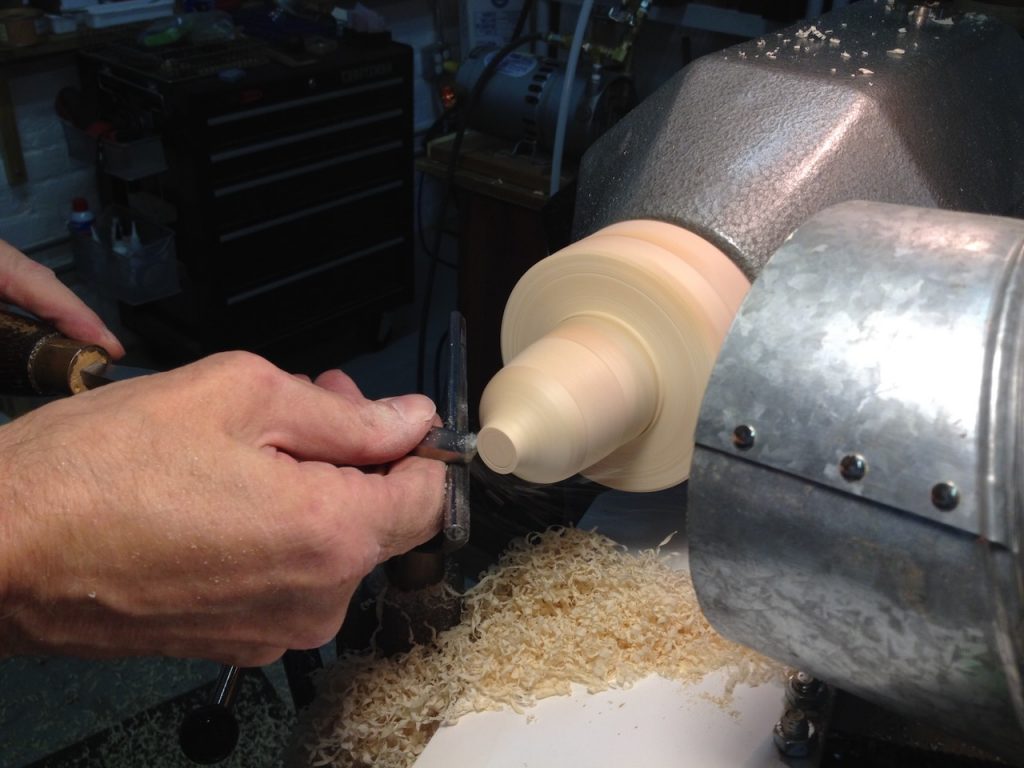
Clamp a metal disk between the mandrel and a follower block and get it centered.
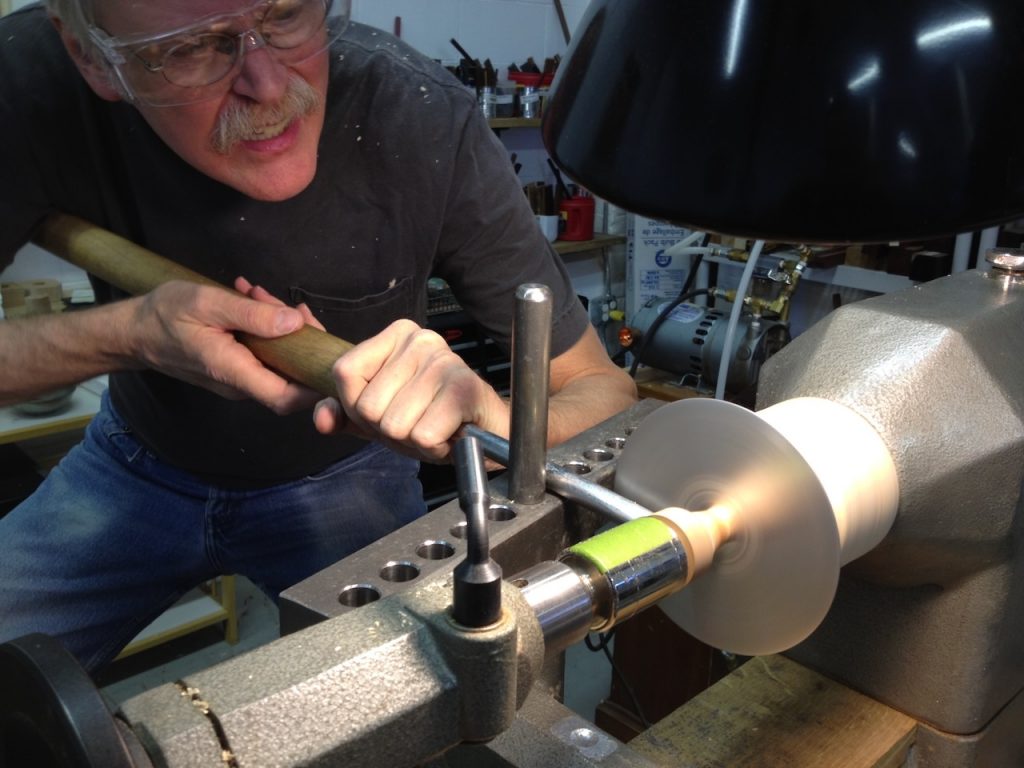
Wax is applied as a lubricant to the spinning disk and a metal rod is pushed against the metal, working from the center out.
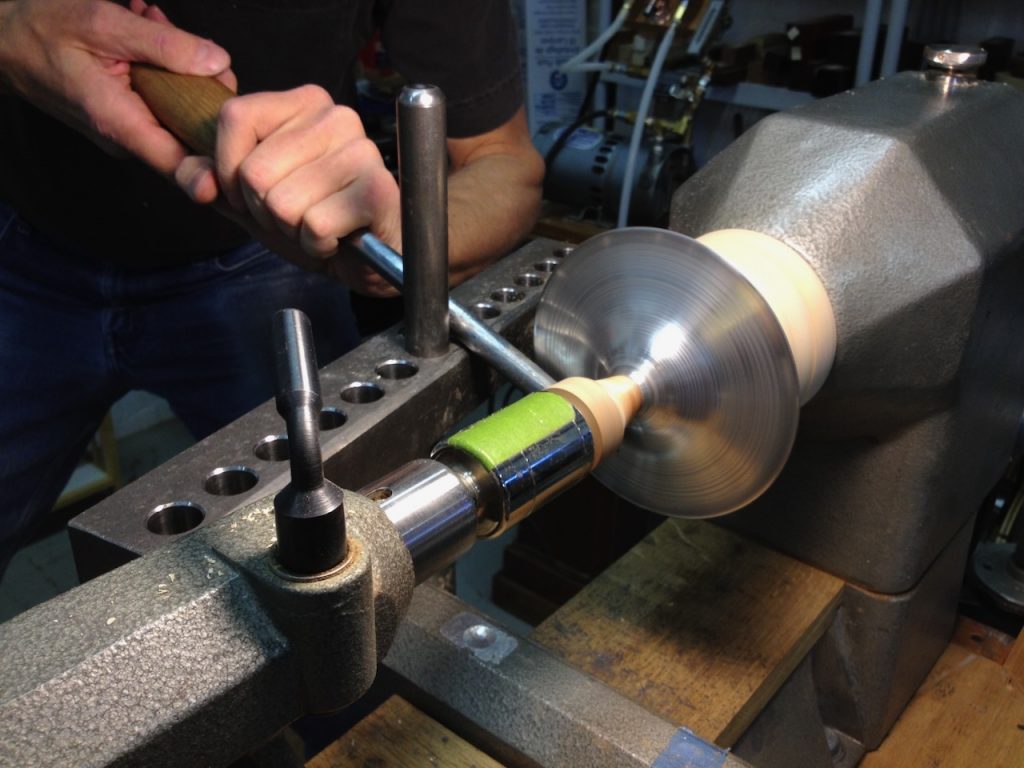
The rod first pushes the metal toward the mandrel and then glides back across it to maintain its thickness.
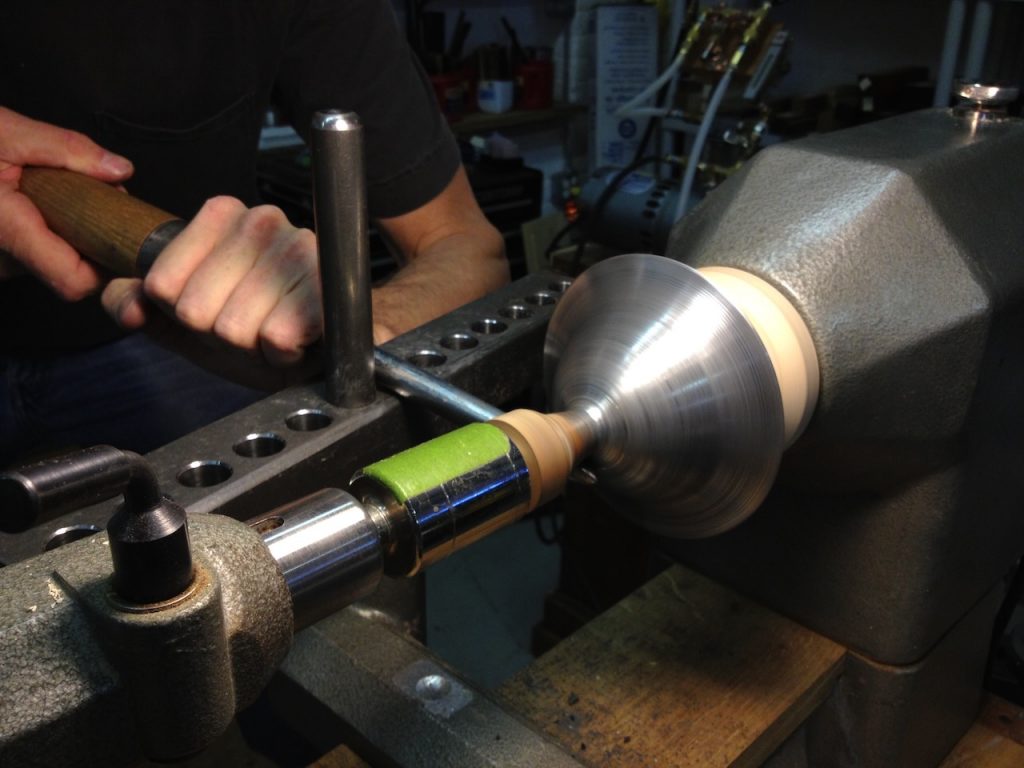
It takes some skill to avoid buckling the metal during the process, but it’s usually recoverable if that happens.
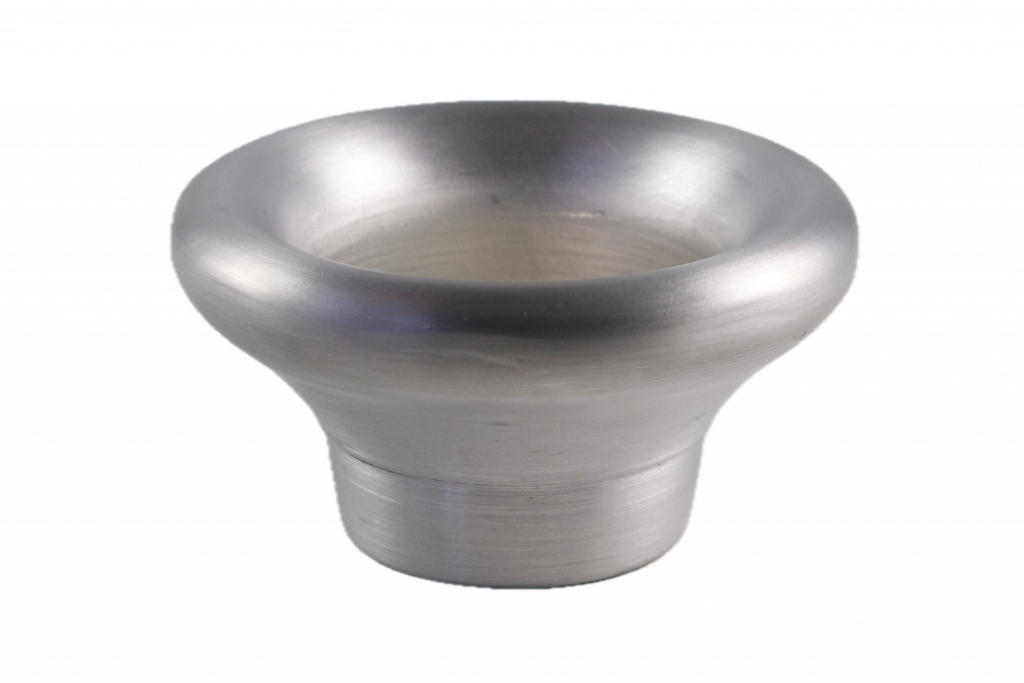
The last steps are trimming the edge of the disk and cleaning the wax off.
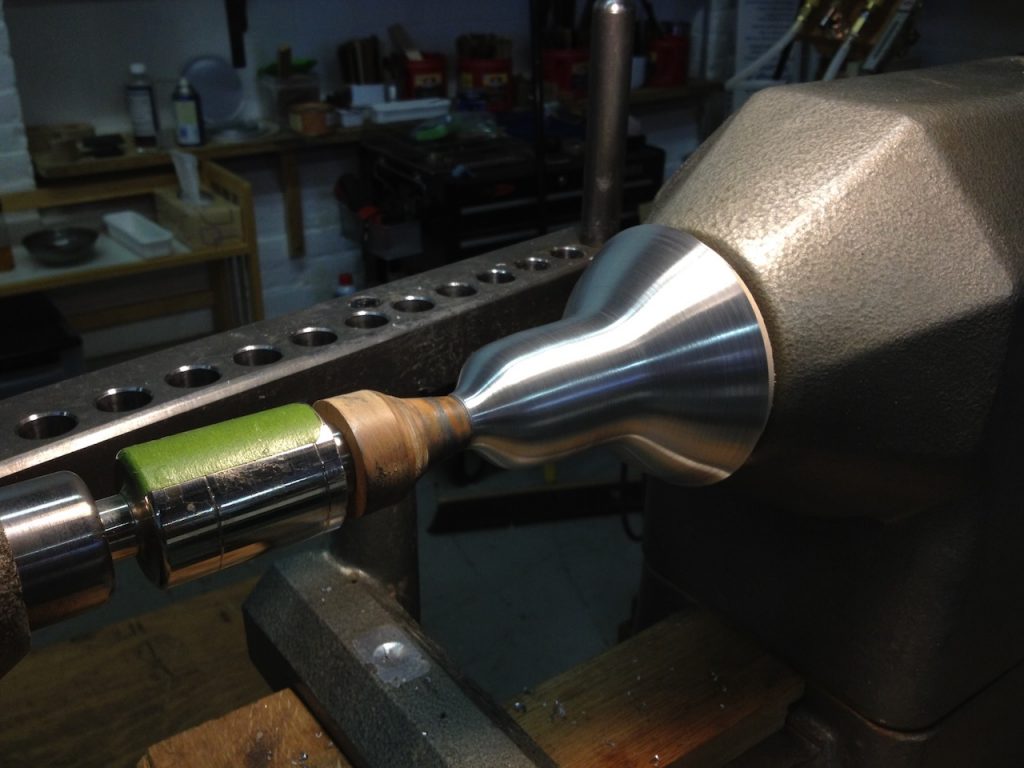
Once complete, the piece will slide off the mandrel.
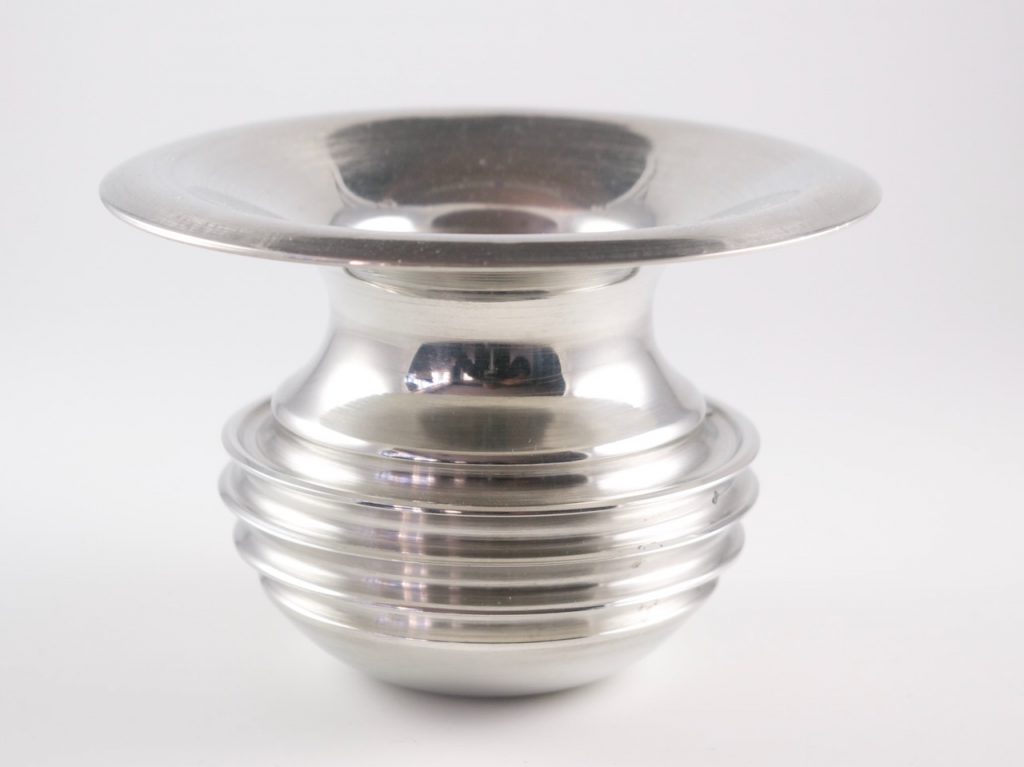
Spinning on Air
You can make fluid shapes like this one by pushing the metal away from the mandrel and backwards and forwards. This would have been a tall cup except I wrapped the rim backwards and decreased its diameter while making it flow toward the base.
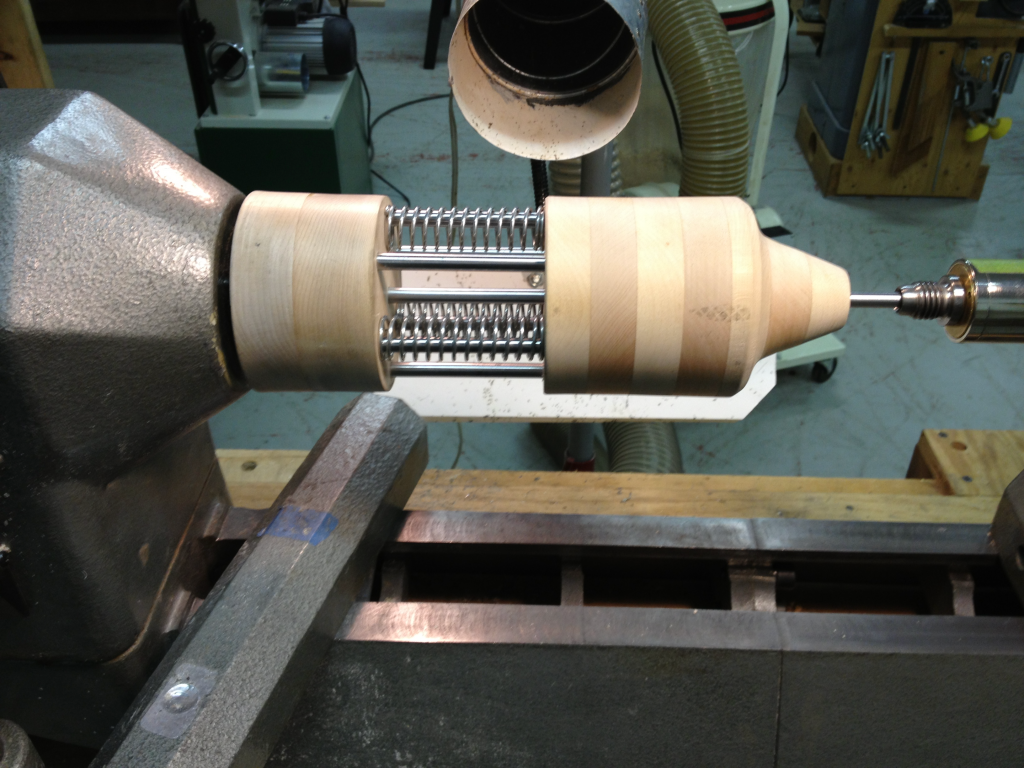
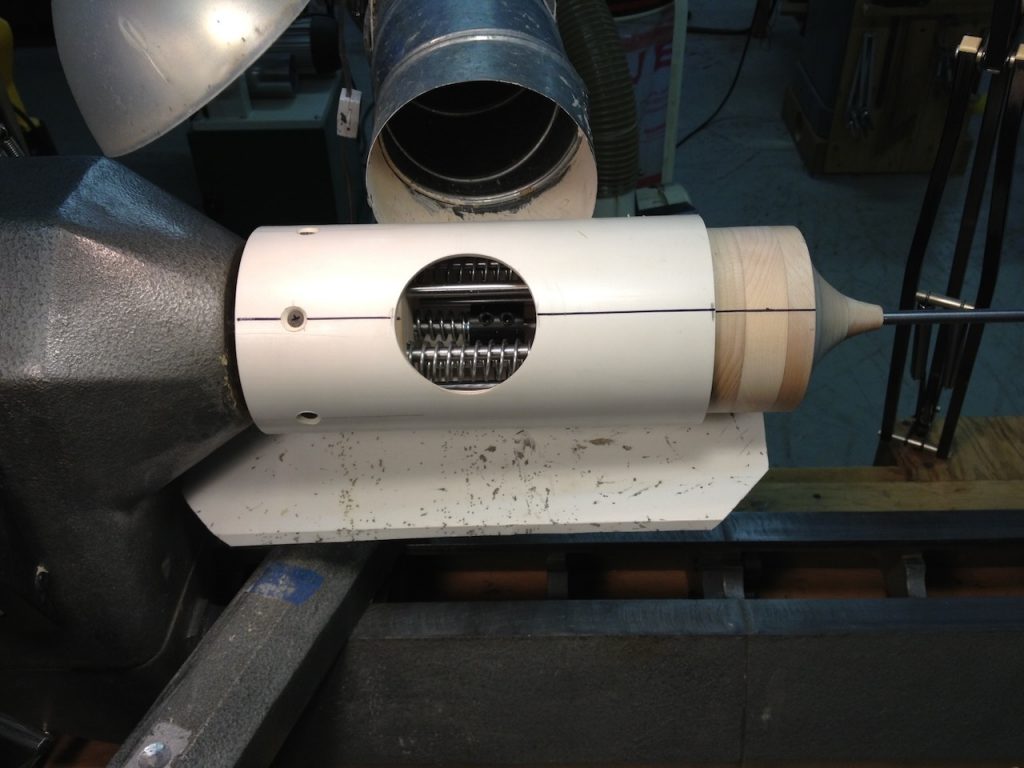
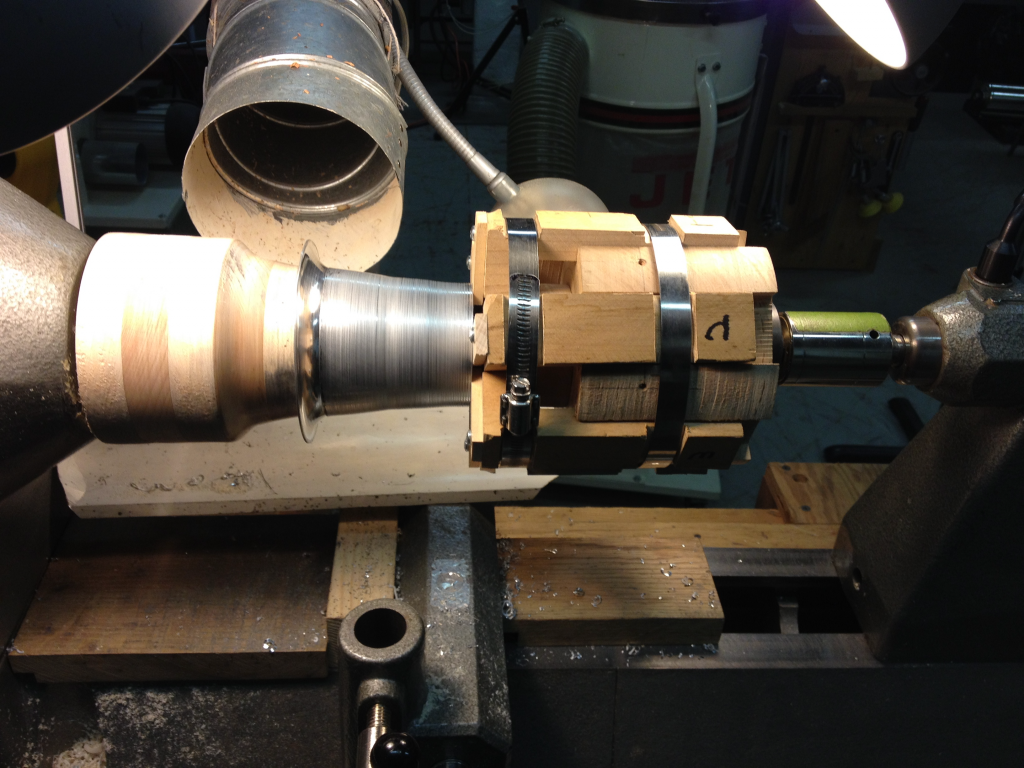
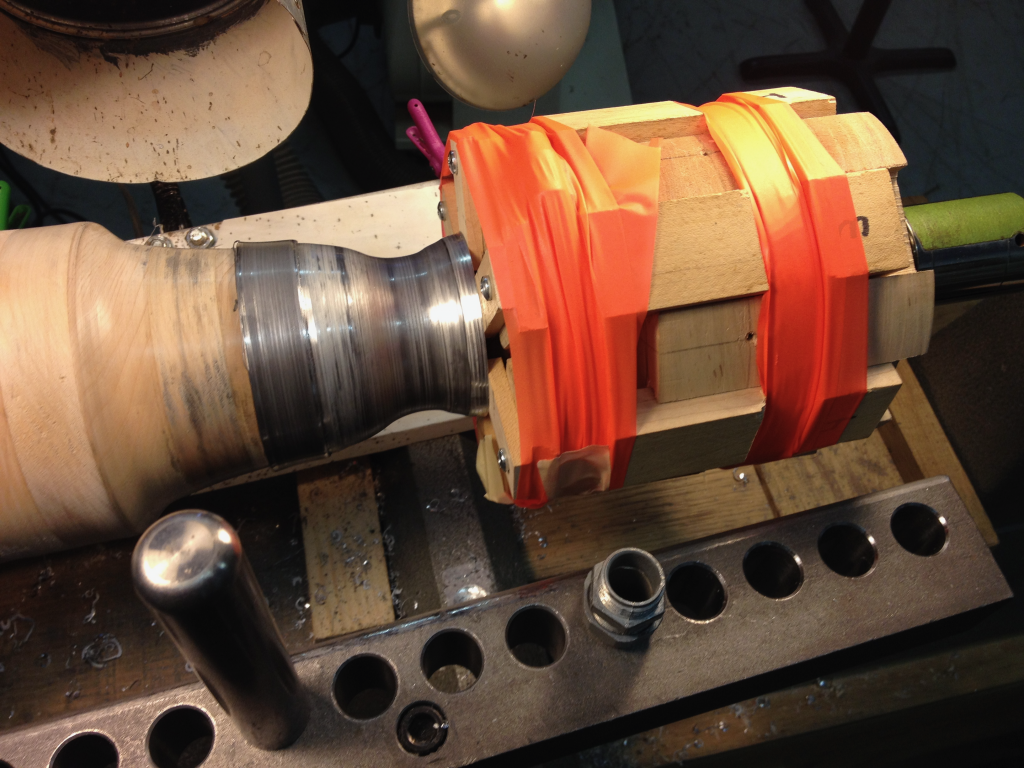
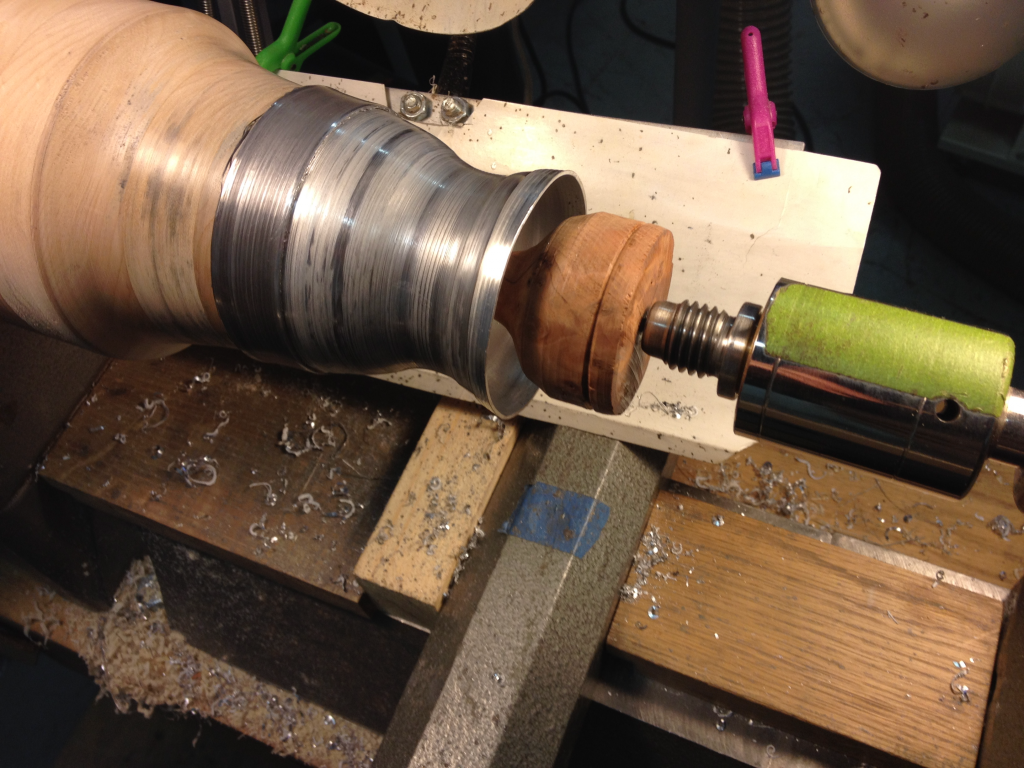
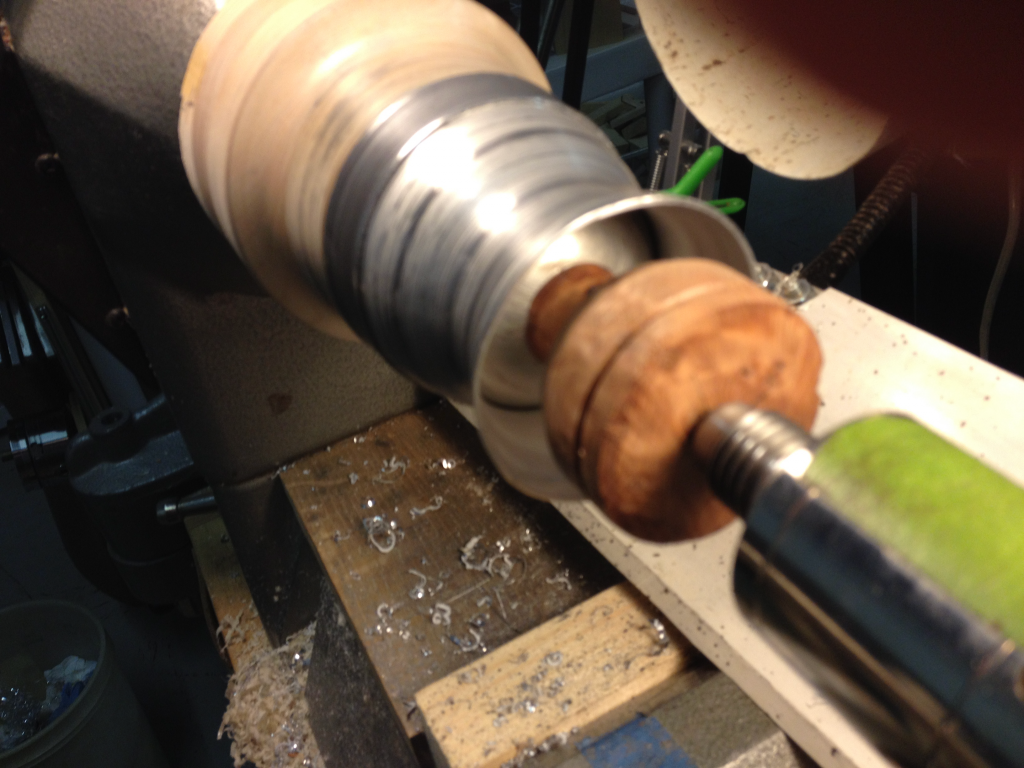
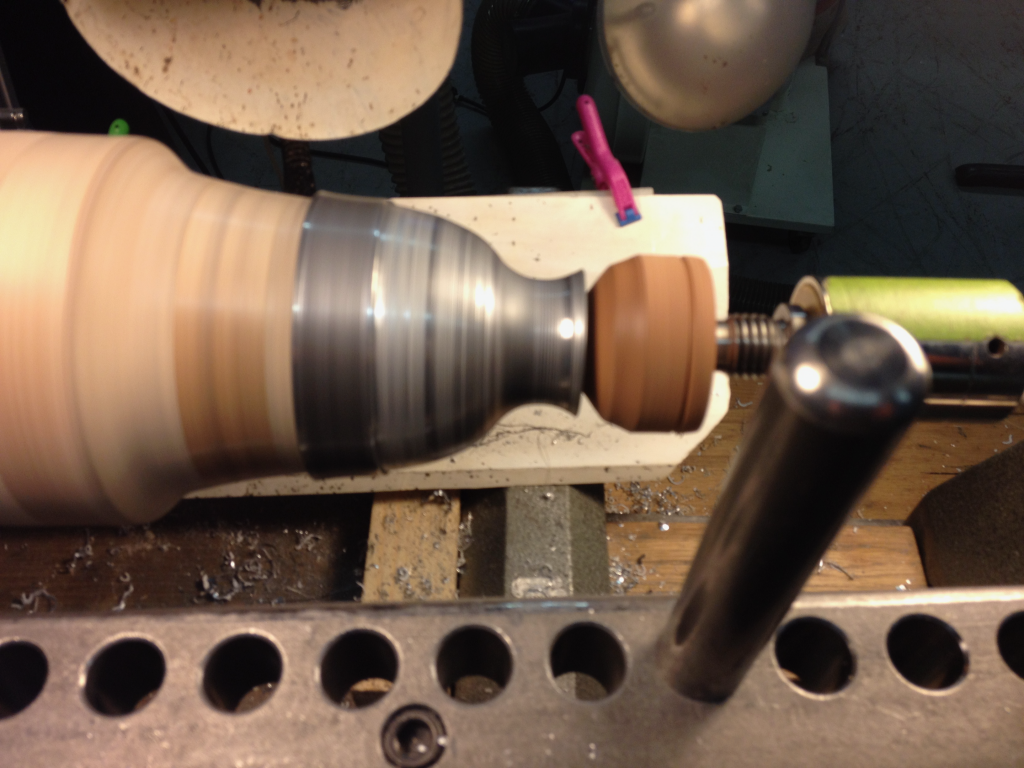
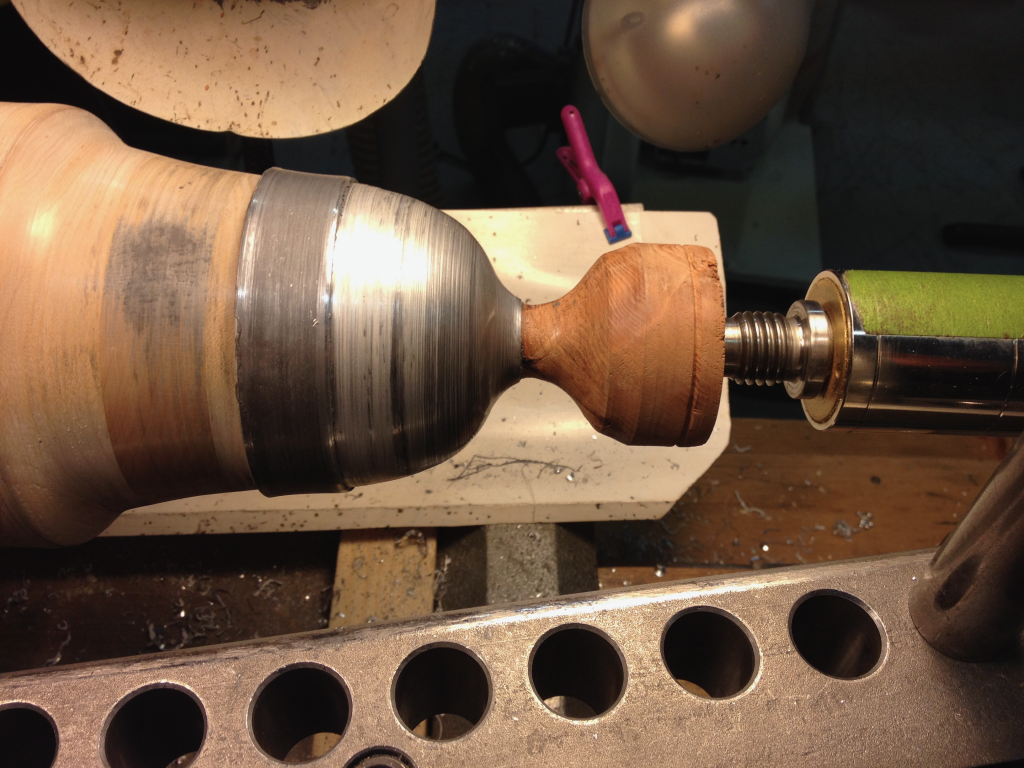
I made several vessels that were held between centers and worked freehand. A piece can change length significantly during this process so I made a spring-loaded mandrel to support the work while allowing its shape to change. A steel rod is held by the base of the assembly and extends forward through the center of the movable portion to hold the base of the piece firmly against the follower block.
I first made a cup conventionally against a mandrel and left the edge turned up a bit.
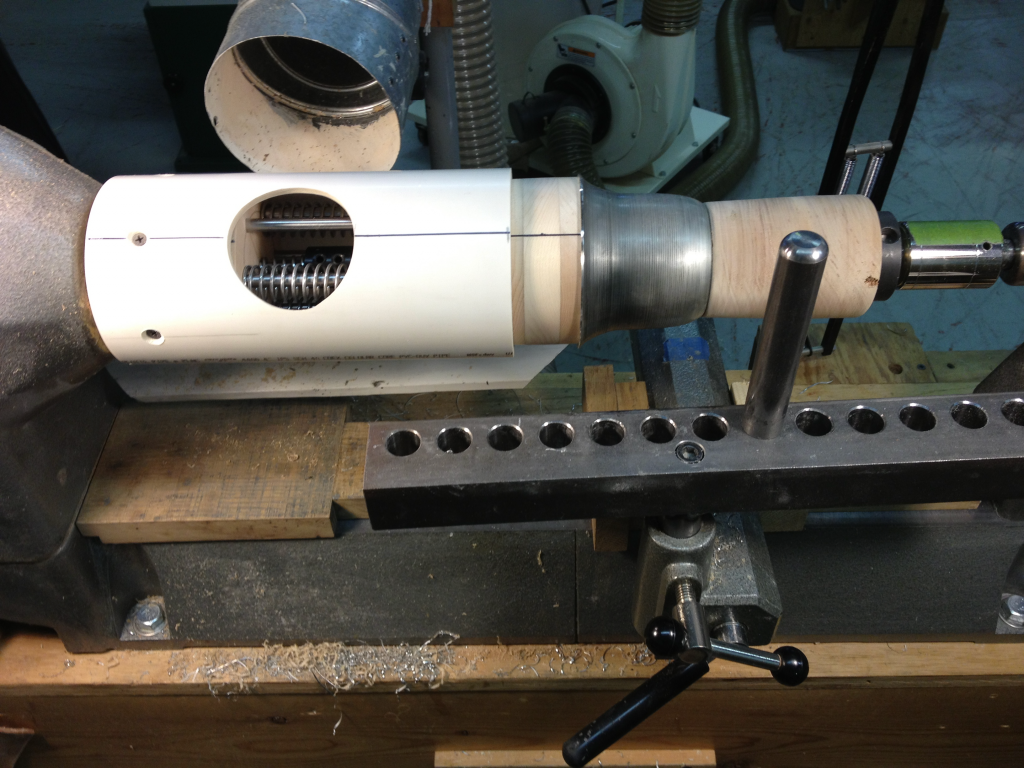
The cup was held by a follower block that pushed it against the spring-loaded mandrel, compressing the springs until a pad on the steel support rod was tight against the bottom of the cup.
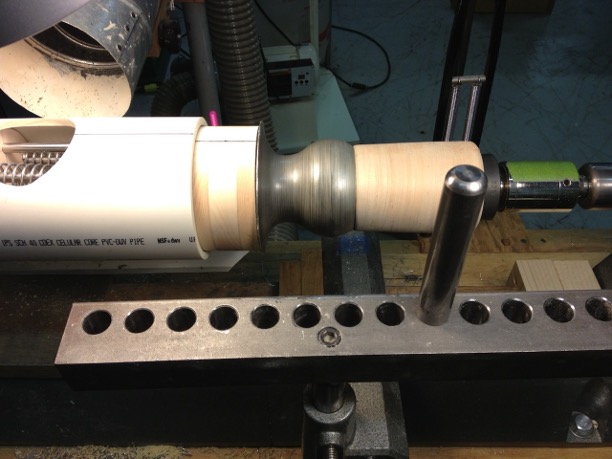
The end of the mandrel moved in and out as the piece took shape.
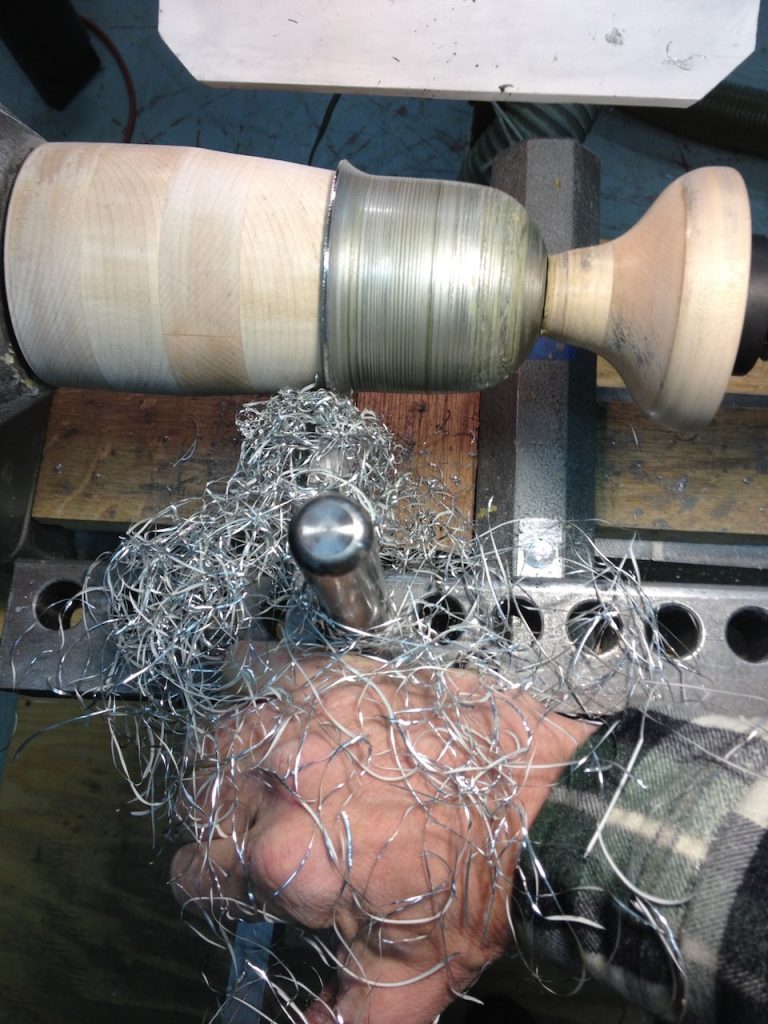
The ridges were made by pushing a roller into the spinning form and pushing it side to side.
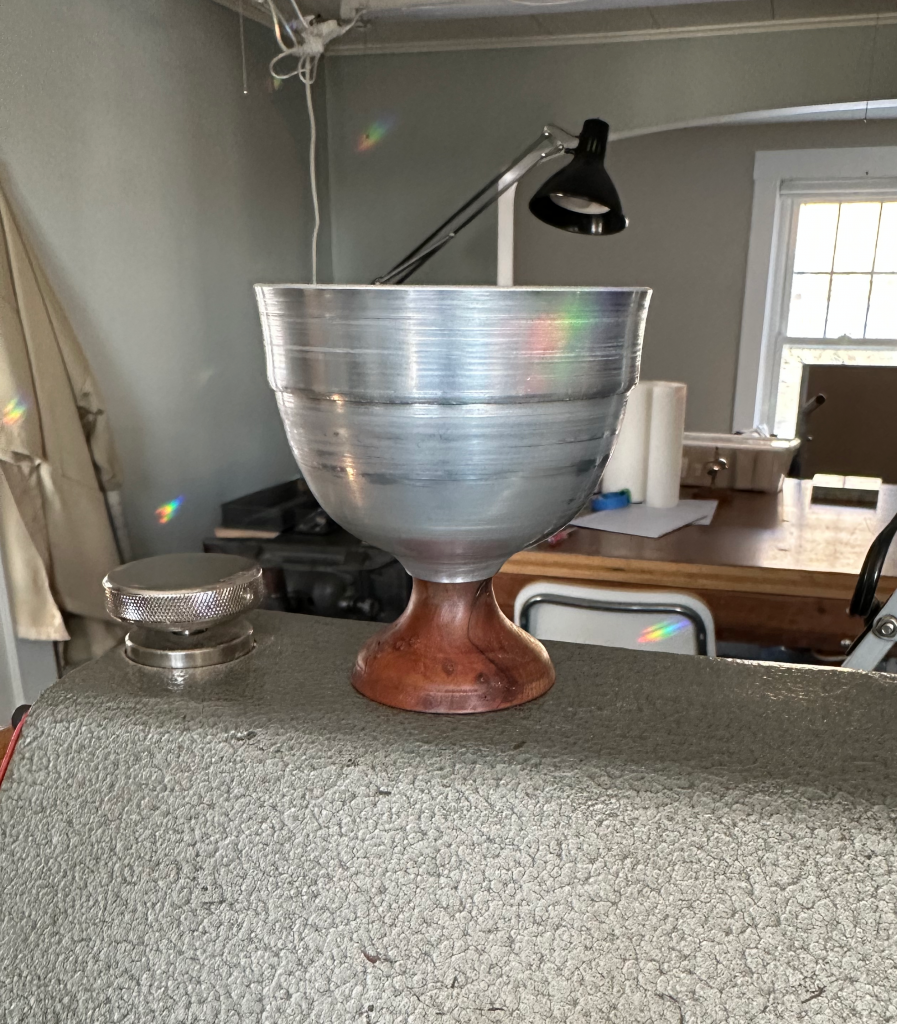
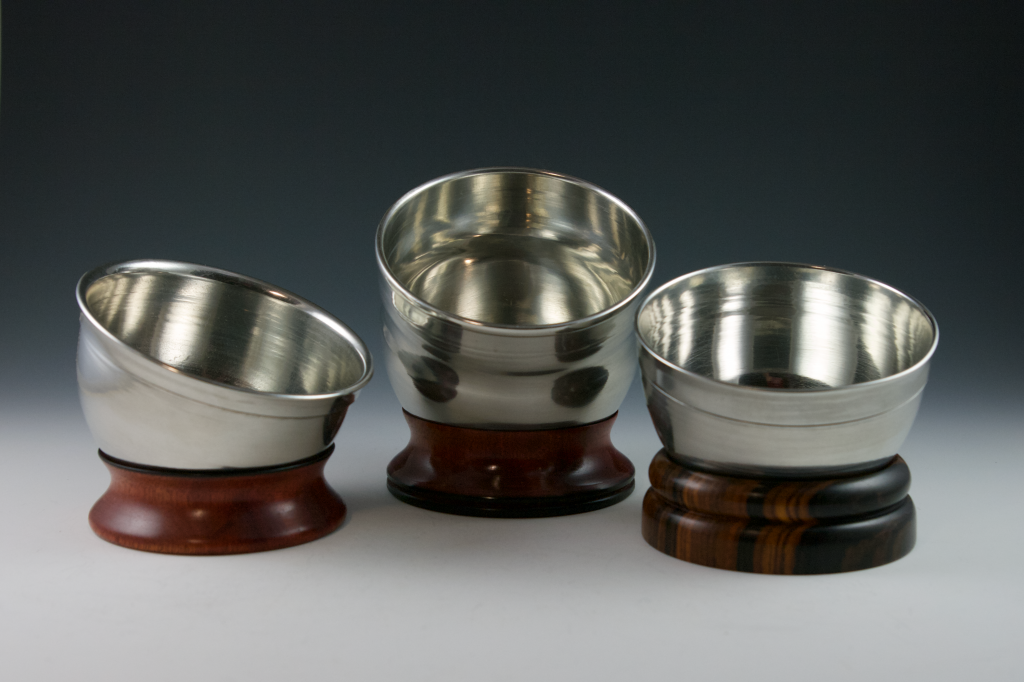
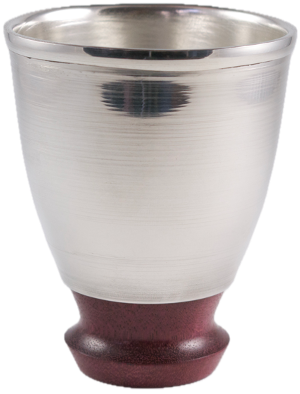
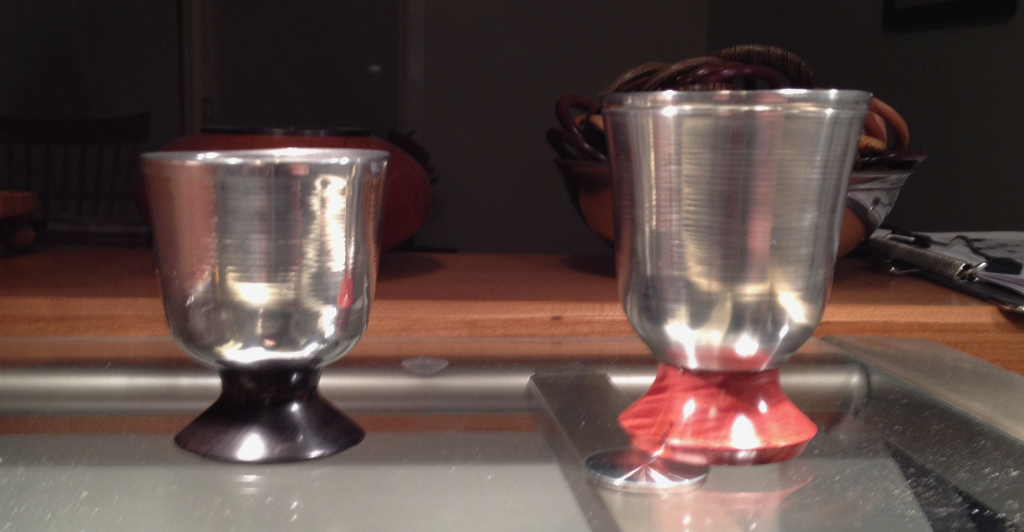
Metal Vessels with Wood Feet
These vessels have an interior cup with its rim folded back to either cover the top of the foot or to cover the top of a sleeve slid over the interior cup and foot. The sleeve is made from another cup with the bottom cut out.
I first made a cup on the mandrel and then made another cup over the top of it and cut its bottom off to make a sleeve.
I made a fixture to support the edge of the sleeve and push it against the flared top of the inner cup.
The support fixture had a steel rod with a pad that held the inner cup tight to the mandrel and prevent it from slipping.
I folded the rim of the inner cup back against the sleeve and reduced its diameter toward the foot.
A piece that will become the foot was held against the bottom of the interior cup.
The shape of the top of the foot needs to match the shape of the bottom of the cup. I used epoxy to ensure a firm connection.
The sleeve was reduced until ready to be trimmed to final length.
The sleeve was pushed tight to the interior cup and to the top of the foot. The foot was then cut to its final shape.